Category Archives: Cookies

Biscuit Sandwich Cookie

This addictive biscuit (I wouldnt really call it a cookie) was something I made for an ex-colleague when she left my previous company.

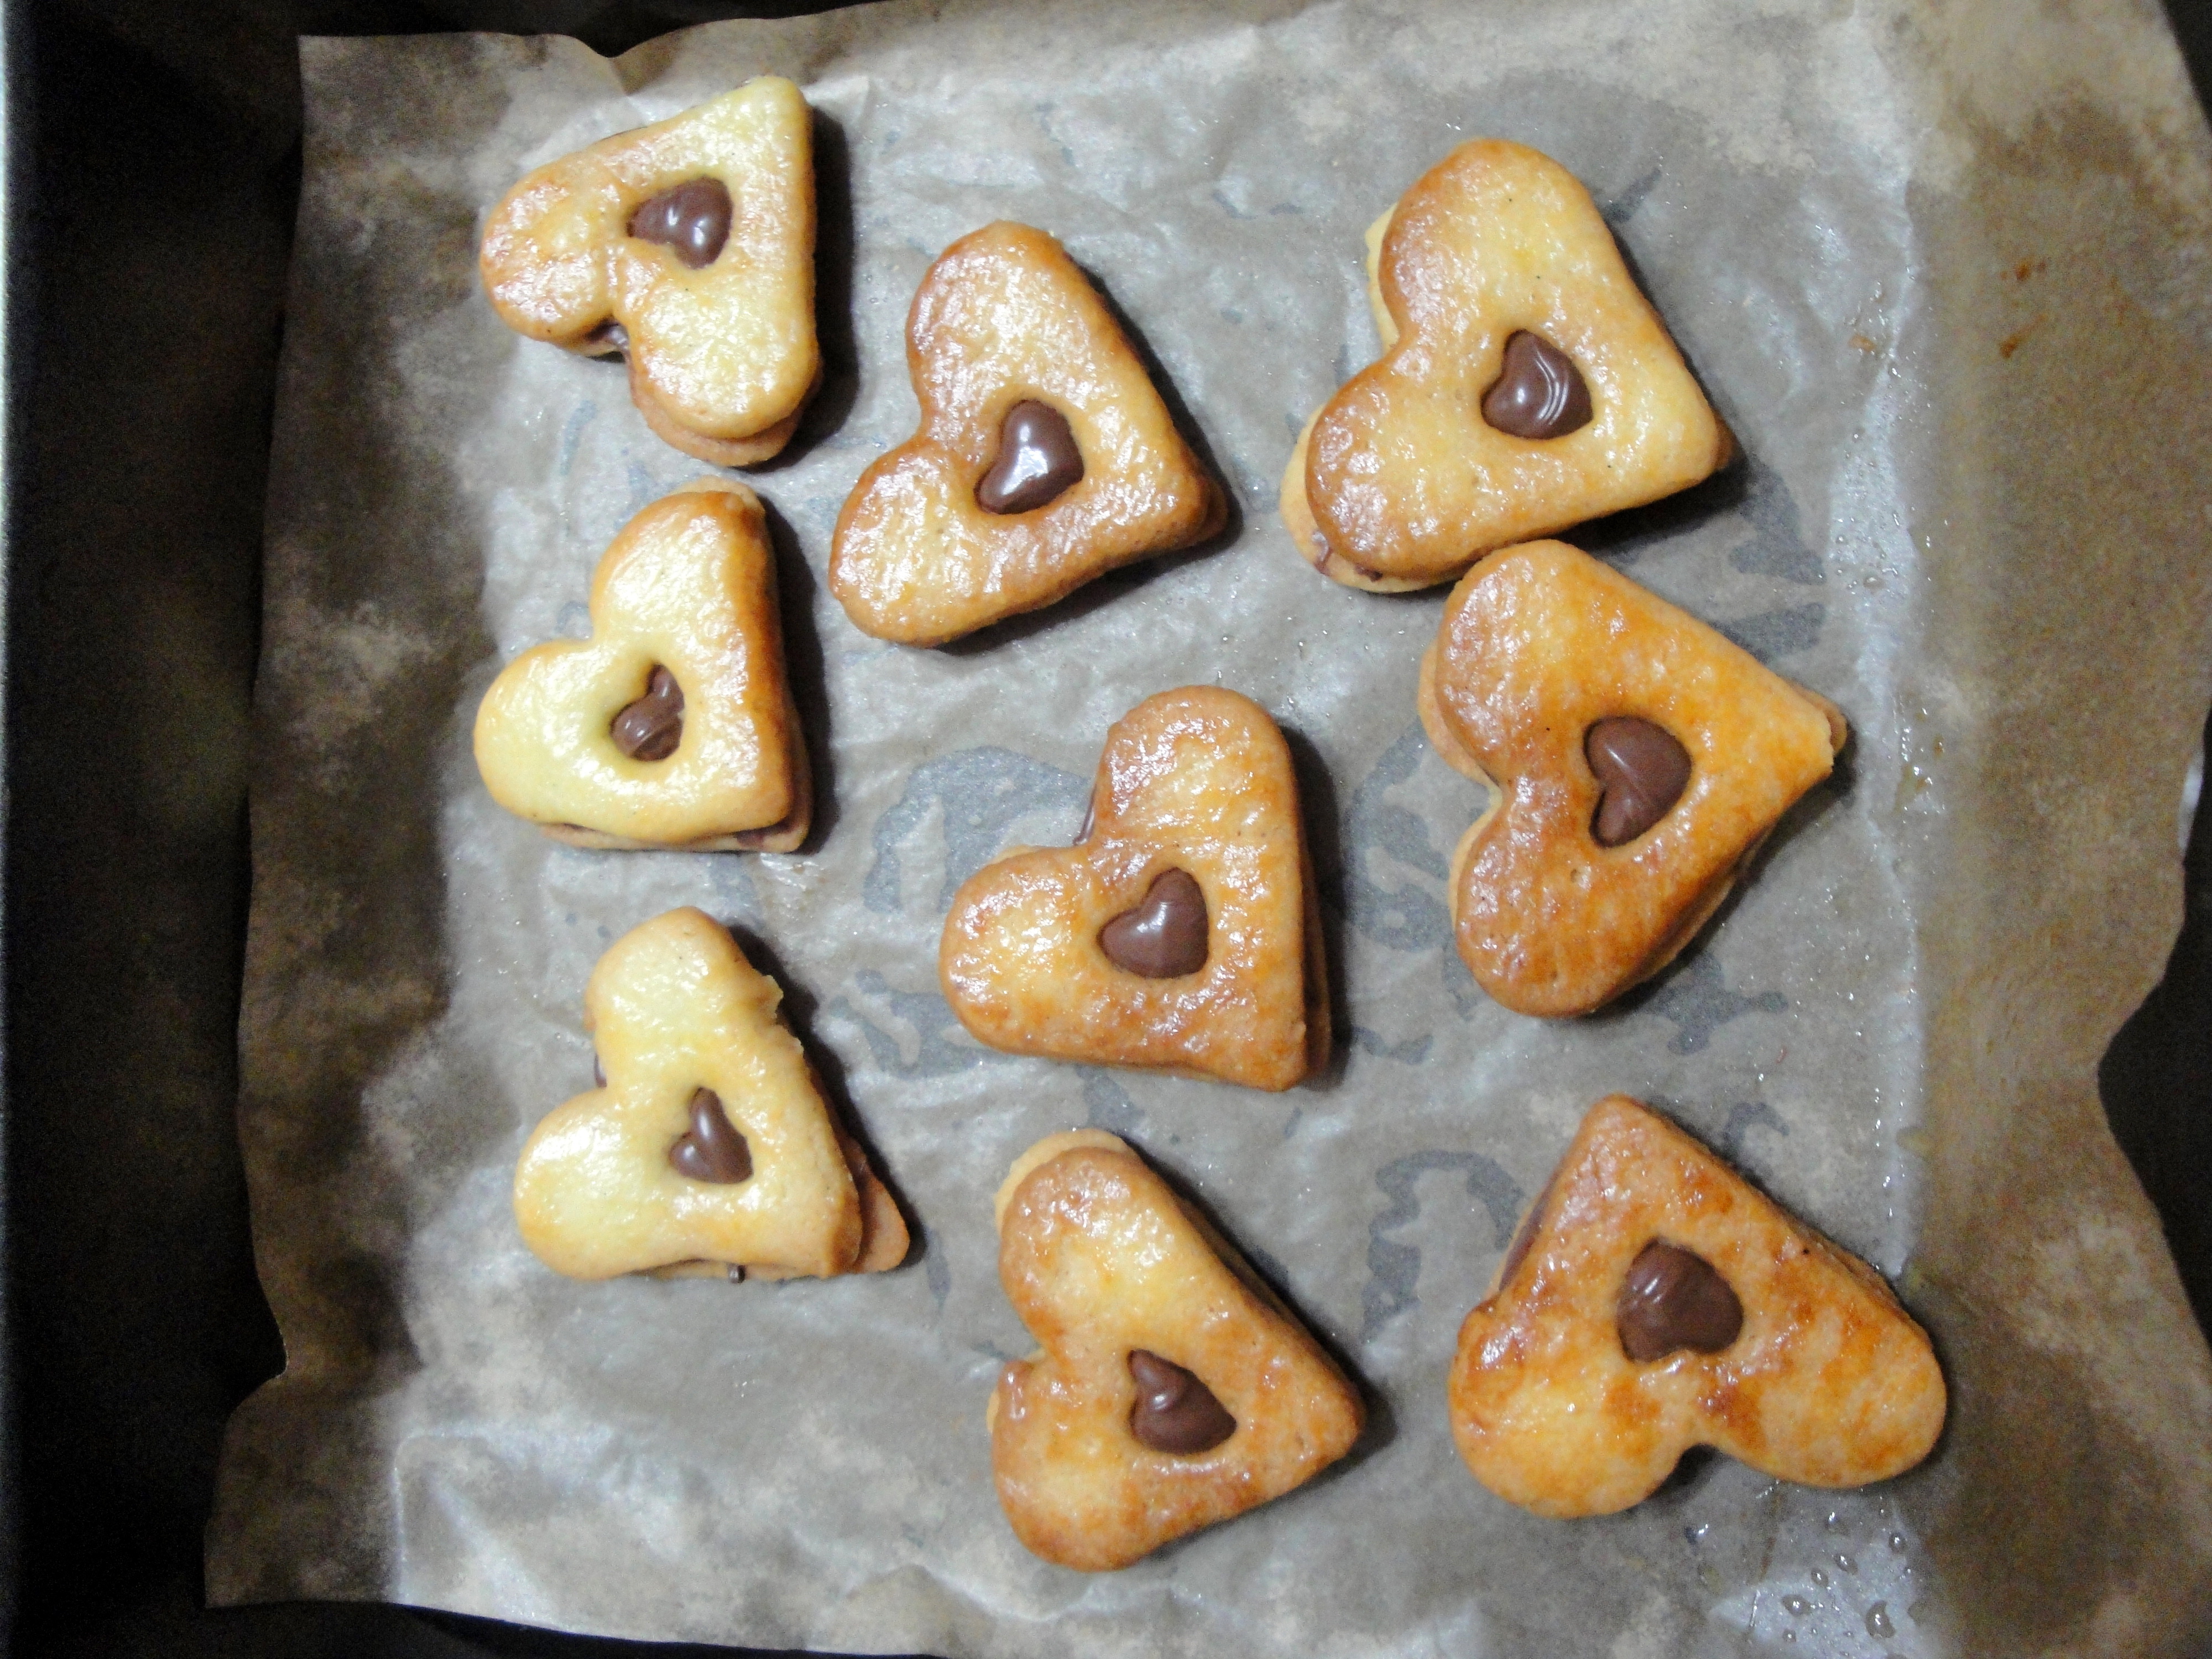
Always a motherly-figure to me, I thought it would be nice to give her some sweet memories. I packed the bakes with some wrapping paper and placed into a small metal tin. (:


Biscuit Sandwich Cookies
Adapted from Martha Stewart’s Cookies – The Very Best Treat to Bake and to Share
by Editors of Martha Stewart Living.

Ingredients
1 cup all-purpose flour
1/4 cup sugar
1/2 teaspoon coarse salt
4 tablespoon cold unsalted butter, cut into small pieces
1/4 cup plus 1 tablespoon heavy cream
1/2 teaspoon pure vanilla extract
1 egg yolk
8 ounces finely chopped milk chocolate, melted, or 3/4 cup nutella

Procedures
1. Place flour, sugar and salt into the bowl of a food processor and pulse to combine. Add butter and pulse to form coarse crumbs. With the machine running, pour in 1/4 cup cream and vanilla and process until dough almost comes together.
2. Remove dough from processor and bring together on a work surface. Roll dough between two floured sheets of parchment paper until 1/16 inch thick. Cut the dough with desired shape of cookie cutter (in my case, I used a bigger heart and a smaller one to make an impression in the centre), rerolling scraps as necessary. Place the cut shapes on parchment-lined baking sheets and transfer to freezer to chill until firm, about 15 minutes.
3. Preheat oven to 325°F. Combine egg yolk and remaining tablespoon heavy cream in a small bowl. Lightly brush tops of cookies with yolk mixture and bake until golden brown, 15 to 20 minutews. Let cool on sheets on wire racks.
4. Spread 1 heaping teaspoon melted chocolate or nutella on undersides of half of cookies. Sandwich with remaining cookies. Refrigerate until set, about 15 minutes. Cookies can be stored between layers of parchment in airtight containers at a cool room temperature up to 3 days.

P/s: a little sidenote that makes me really happy. my new colleagues love this so much that they plan to do it as one of the bakes for CNY 2011! ^^

THE Green Tea Sweets


At one period of time, I was crazy over green tea. Even Mac was selling green mcflurry! Thus when I chanced upon this recipe online, I was exhilarated! ((: 

This recipe is fabulous. It’s a finalist in the Best Bakery Recipe category for Pastryscoop.com’s Golden Scoop Awards.

One very interesting point to is the texture of the cookies. I guess the reason to why it’s termed as sweets and not cookies is actually due to its texture. It’s not the normal crunchy famous amos nor the soft subway cookies. It sort of crumbles in your mouth yet the sugar topping gives it the extra oomph! In a nutshell, it’s like a crumbly yet crunchy cookie! Confused already? hah..
Try making it and it will clear all doubts!

I adjusted some of the ingredients slightly according to my preference, so if you want the original recipe, do follow the link!

Amai’s Green Tea Sweets
Adapted from Lovescool – For the Love of Dessert

Ingredients
3/4 cup (85gm) Confectioners sugar
5 oz (147gm) Unsalted butter, cut into cubes (room temperature)
1 3/4 cup (195gm) All-purpose flour
3 Large egg yolks
2 tbs Matcha (powdered green tea)
1 cup Granulated sugar (for coating) [I used coarse sugar.]

Procedures
1. Preheat the oven to 350°F. Line a sheet pan with parchment paper.
2. Whisk the confectioner’s sugar and green tea together in a bowl.
3. Add the butter and green tea/sugar mixture to the bowl of a stand mixer fitted with the paddle attachment. Mix until smooth and light in color.
4. Add the flour and mix until well combined.
5. Add the egg yolks and mix just until the eggs are fully incorporated and a mass forms. (Try not to overmix.)
6. Form the dough into a disk and chill in the refrigerator until firm (about 30 minutes).
7. Roll the dough out to ½” thickness.
8. Cut the dough with a leaf cookie cutter.
9. Toss each cut cookie in a bowl of granulated sugar to coat. [I coated only one side cause I didnt want it to be too sweet.] 
10. Place the sugar-coated cookie on a parchment lined pan. Bake at 350F for 12-15 minutes, or until slightly golden around the edges.


Just before you bake:
1. Use good matcha! It really makes a lot of difference, not only in terms of color, cheap green tea powder cant bring out the uniqueness of this recipe.
2. My version is much thiner than it should be, so it crumbles very easily when I try to move it from my working tray to the baking tray. Therefore, if you want something easier to operate, my advise is make it thicker! ((:
3. Do not try to decrease the sugar content if you intend to increase the matcha to increase the intensity! Matcha is bitter by nature, so decreasing the sugar further may produce a bitter cookie altogether.
4. Color of sweets will darken as it gets exposed to the air. Therefore, do remove them from the oven the moment you notice browning by the sides.


the lovely deep green!
Definitely a keeper… Despite boyf’s constant emphasis about his dislike towards green tea. =P

Chocolate Thumbprints


“Who stole the cookies from the cookie pot…” This was such a popular game during my younger days (like secondary school?). The cookie monster inside me has finally spoke! And so, after almost a year of procrastination, I got my butt stuck to the chair floor and type this entry.


My dear sis loves it whenever I were to bake this. The buttery taste of the cookies coupled with the bitter-sweet chocolate is simply heavenly (I always ended up eating while I’m baking)!  Not only is it fuss-free to prepare, the success rate is almost a 100%! Just follow the recipe below closely.


Chocolate Thumbprints
Adapted from Martha Stewart’s Cookies – The Very Best Treats to Bake and to Share 
by Editors of Martha Stewart Living.

Ingredients
1 cup (2sticks) plus 5 table-spoons unsalted butter, room temperature
1 cup confectioners’ sugar
1/4 teaspoon salt
2 teaspoons pure vanilla
2 1/2 cups all-purpose (plain) flour
4 ounces semisweet chocolate, chopped
2 teaspoons corn/golden syrup

Procedures
For butter cookies:
1. Preheat oven to 350°F. Line the baking tray with parchment paper.
2. In the bowl of an electric mixer, beat the butter, confectioners’ sugar. salt and vanilla on medium speed until smooth, about 2min.
3. Beat in flour in parts. Begin with low speed and increasing to medium until combined.
(Can try to cover the mixer bowl area with cloth to minimise flour from “flying” all over the place during mixing.)
4. Form balls using 2 teaspoons of dough for each; place balls 1 inch apart on the parchment paper.
5. Bake 10min, remove from oven and press thumb/small rolling pin into cookies to make deep, wide indentations. Rotate pan and return to oven; bake until light brown on the edges, 7 to 9min more.
(If the indentations begin to lose definition, remove cookies from oven and press again.)
6. Cool completely.

For chocolate ganache:
1. Combine chocolate, the remaining 6 tablespoons butter, and the corn/golden syrup in a small heatproof bowl set over a pot of simmering water; stir occasionally until melted and smooth.
(In other words, a waterbath should be set up to combine the ingredients mentioned).
2. Allow mixture to cool a bit until slightly thickened.

 Assembly
1. Using spoon, f
ill thumbprints with the chocolate mixture, and set aside to firm up. Cookies can be stored in single layers in airtight containers at room temperature up to 3 days.

Just before you bake:
1. Some parts, ie. sides and bottom of the dough will not be well-mixed with the electric mixer. So DO REMEMBER to scrap the sides and bottom and combine them manually before kneading into small balls.
2. If using fingers to make the indentations, do remember to keep finger cool by preparing a bowl of (ice) water for dipping.
3. If you want to taste the chocolate distinctly, make sure that the indentations are wide and deep.
4. Be very patient when filling the thumbprints if you want the sides of your cookies to be clean!


I had loads of fun when I’m baking this. Enjoy!